

Overview
Me and a bunch of friends decided to build a 3D printer. We all collaborated and built different parts of it, and after a few months work we had a working printer! This particular model is called the Prusa Mendel, a popular DIY printer. You can read more about 3D printers on wikipedia: RepRap Project
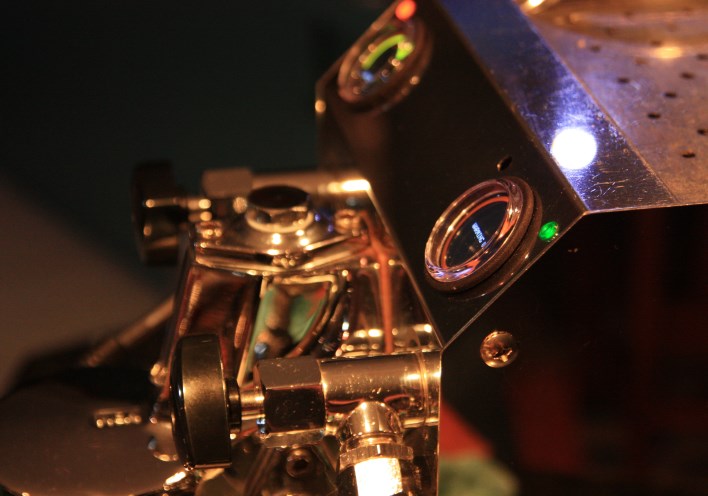
 Wires everywhere!
The 3D printer works by extruding a plastic filament through a hot nozzle (much like a hot glue gun), and onto a build plate, building layer upon layer.
Depending on how high it stacks each layer, a print can take anywhere between 30 minutes and 8 hours! It is possible to get a resolution of 100 microns (0.01mm) with a lot of calibration and patience.
The plastic filament we’re using is called PLA, or Polylactic Acid . It is a polymer that is derived from sugars, and is also biodegradable! When we’re printing, it fills the room with a sweet sugary smell.
Other plastics can be used, such as ABS or Nylon, but they are harder to print and produce toxic fumes.
Building It
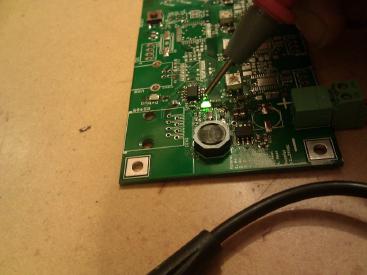
My task was wiring it up and getting the electronics together. I didn’t want to use the Arduino + Plugin boards that most people use, since it’s rather ugly and inefficient. Instead I decided to hand solder a Generation 6 Electronics board.
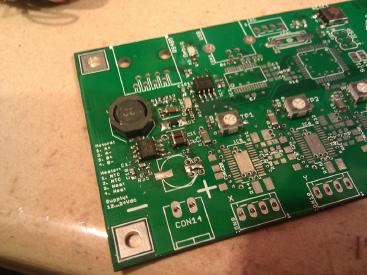
Unfortunately when I had finished soldering it, it didn’t work! After another month, I realised that I had ordered 20ohm resistors instead of 0.2ohm resistors. doh!
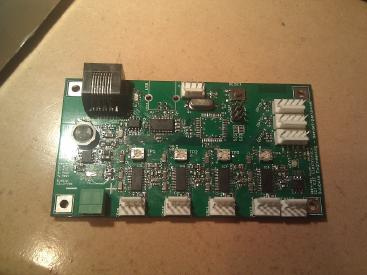
After switching in some new resistors, it all worked beautifully. Unfortunately a day later, one of the motor driver chips blew up, so I decided to just go with a prebuilt module. This time I chose the Printrbot electronics, which is a step up from the Gen6.
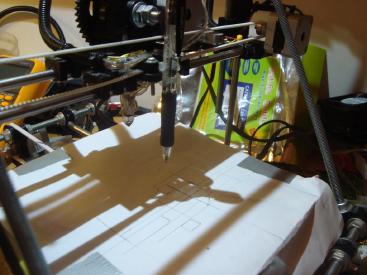
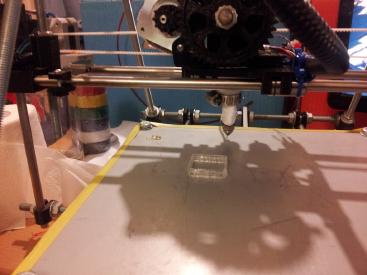
Calibration
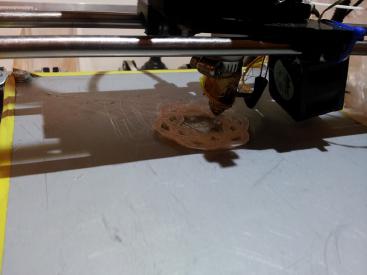
The next part was definitely the trickiest, and that was to calibrate the thing. Unfortunately our build plate wasn’t very flat, so we only had marginal success. We found we could only really print small objects, since anything too big would either not stick or it would warp.
Here are some photos of our early calibration prints:

Prints
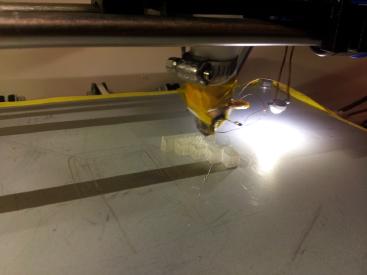
After calibration, we tried some harder prints:
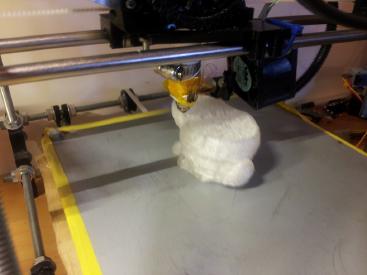
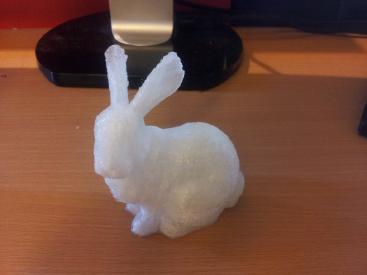
One of the first prints we tried was the Stanford Bunny , a popular object in computer graphics classes.
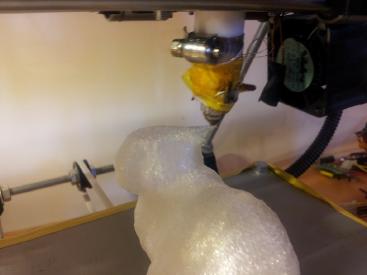
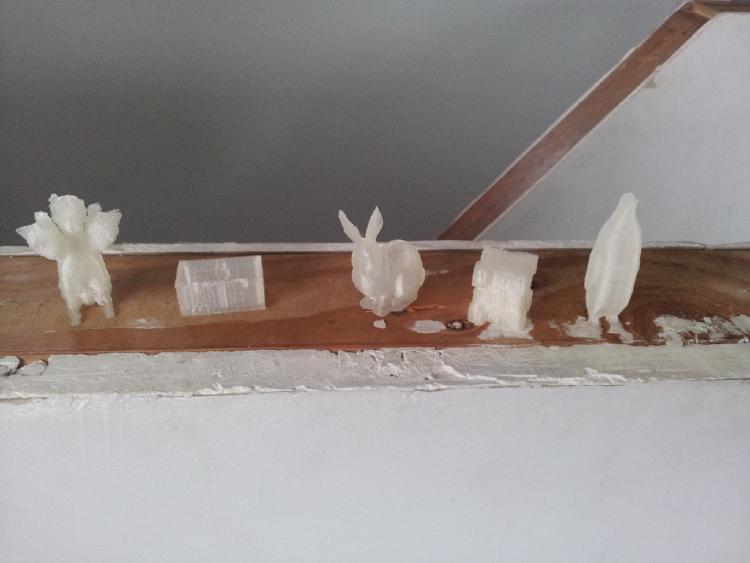
I also tried a few other prints while I had it properly calibrated:
Failure Strikes Again!
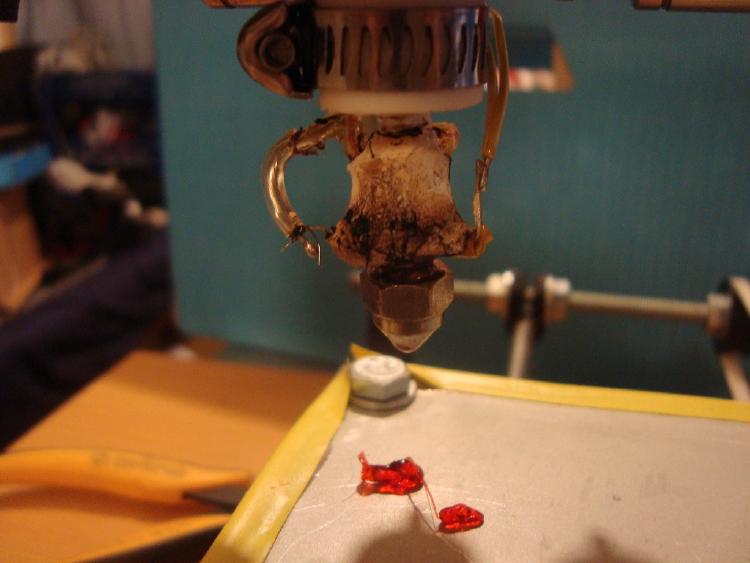
There’s a leak somewhere inside it, and the molten plastic is oozing into the firecement and causing it to crack. It was also causing large amounts of smoke! (Incidentally, it smells like burning sugar, which makes sense since PLA is derived from corn starch)
Future Improvements:
We’re planning on replacing the build-plate with glass, which is very flat, and should hopefully enable us to do bigger prints. Finding glass the right size is proving to be tricky however.
We are also thinking of replacing the extruder with one that doesn’t leak! Though the current one seems to be holding out for now.