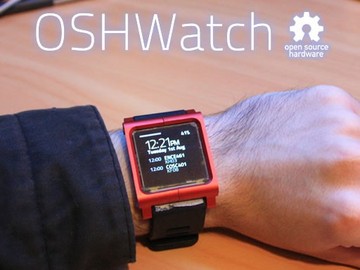
Overview
As a side project, I decided it’d be neat to have a programmable wrist watch. I had an OLED lying around with the right dimensions (approx 1 inch diagonal), but I needed a breakout board to be able to use it. So instead of simply making a breakout board, I decided I’d turn it into a smart-watch platform!
My design uses a PIC24FJ256GB206 MCU, which is pin compatable with the PIC24FJ256DA206 (the DA series have an inbuilt graphics accelerator peripheral).
I also decided to include some cheap sensors, like an accelerometer, magnetometer, light, temperature, air pressure, etc. And of course, some GPIO.
I’m going to state now I have absolutely no idea where this will go, I’m learning a lot of new stuff to do this!
Design
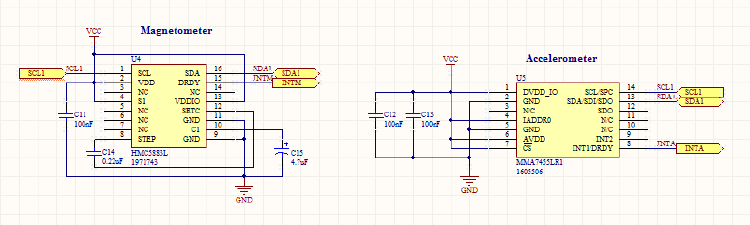
I based quite a few of my designs off sparkfun products, since they already work properly. I decided to use an MMA7455 for the accelerometer, and a HMC5883L magnetometer, both of which are available from Element14.
The OLED requires a 12V supply, so I followed sparkfun’s breakout board (which seems to be missing from their site now). Their design uses an LM27313 boost converter to generate the +12V.
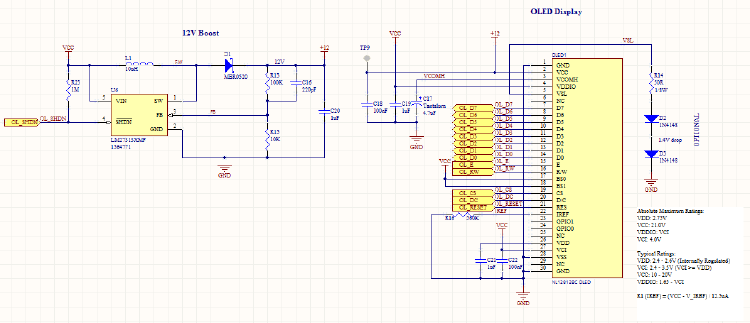
Charging is done through the USB port using an MCP73831 Li-Ion charger.

Since the board is going to be the same size as an OLED, I found a Li-Ion battery that perfectly fits inside the dimensions: 400mAh Lithium Ion Battery
Development
After I was happy with the schematic, I started the PCB design. I have only had a little bit of PCB layout experience in Altium, so I was learning a lot of new things. The trickiest thing for me at first was figuring out which footprints I should assign to the components.
 Starting PCB Layout
 Assigning Footprints
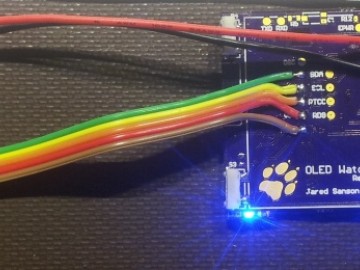
After I was happy with the footprints, I started organising the components roughly where I wanted them. Somewhere along the line I added a vibration motor, which will be very useful for alerts.
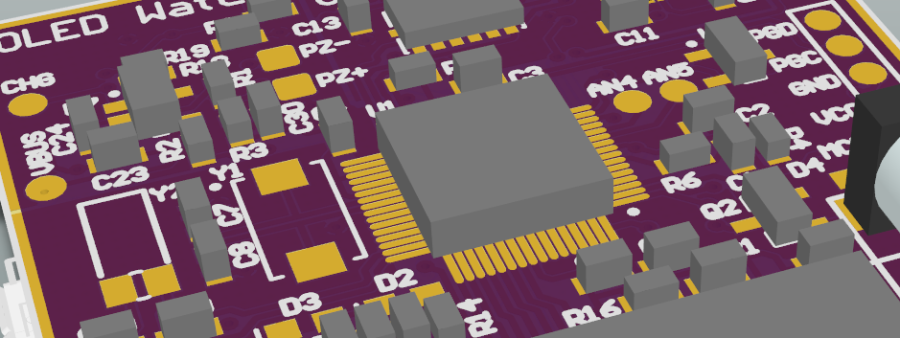
 3D Layout
 Front Side
 Rear Side
Now the board is ready to be produced! I decided to go with OSHPark, since they had a good price and also a gold ENIG finish. Since then BatchPCB have merged into OSHPark, so looks like they are quite a good choice!
 Final Top
 Final Bottom
And here are the completed PCBs!
 PCBs!
PCBs! Showing the purpleness
Then a realisation struck me…
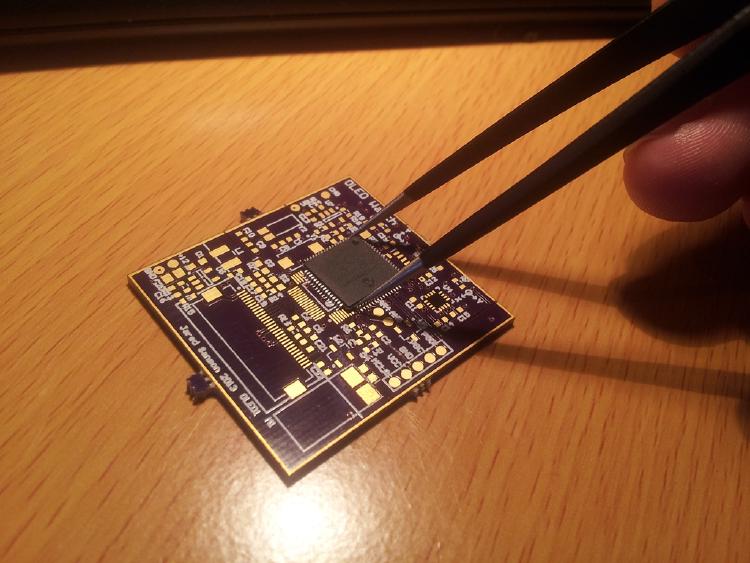
Looks like it’s time for Revision 2. Remember: Always double check everything before sending it off! Somehow I messed up the footprint for the MCU, and it’s half the size of the actual chip!
Keep an eye out for my next blog post. I’ll show my development of Revision 2, along with some more schematics and design stuff.