

Overview
A friend asked me if I could turn a damaged samsung LED TV into a coffee table, so I created this project. The TV was damaged in the Christchurch Earthquake a year or so ago, but only the front LCD panel was damaged. The backlight was still intact, so the TV made a really nice coffee table!
Disassembly
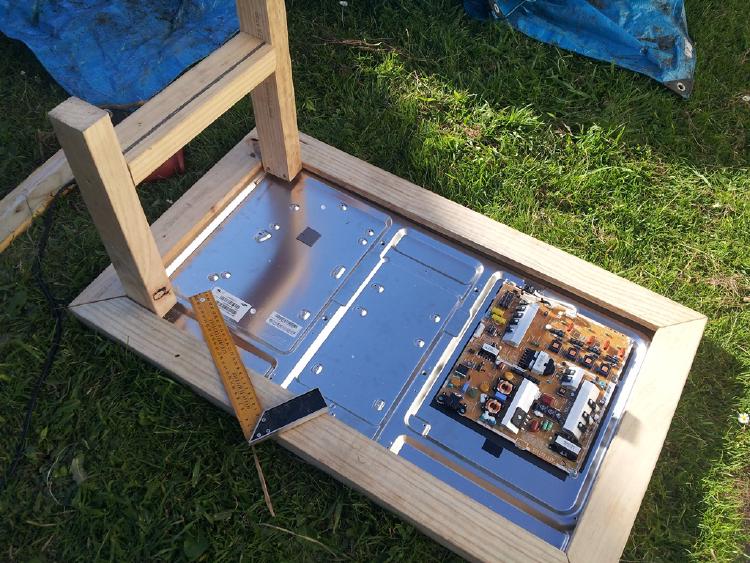
The first task was to disassemble the panel, which wasn’t too hard to do. The circuitry was separated into the Power Supply and Computer board, and it turns out the Computer board isn’t necessary to control the backlight.
 Disassembled panel
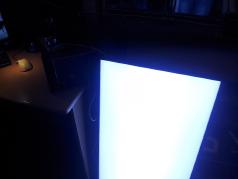
The next thing to do was to figure out how to control the backlight. After some experimentation shorting out various wires, I figured out how to turn on the PSU and LEDs.
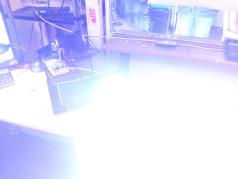
It turns out the backlight is separated into 4 rows of LEDs, and I realised I could make some really cool patterns! You can see two of the rows active in one of the photos above.
Once I had figured out how to drive it, I started prototyping a circuit.
Electronics
I decided to use a dsPIC30F because I had one on hand, and I didn’t want to waste one of my more powerful dsPIC33F chips. The project greatly benefited from the extra power, since it allowed me to have 4x 10 bit PWM channels. (much better than an Arduino!)
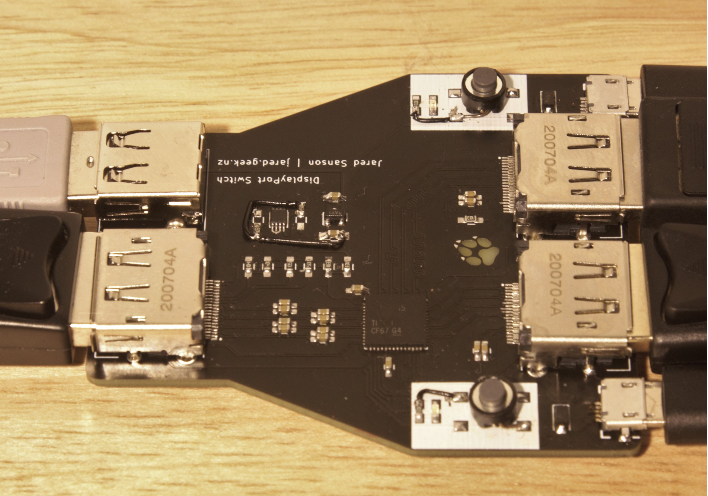
 Prototype circuit
Firmware
The firmware supports 4 animation channels, and a brightness channel.
To make sure the animations look as smooth as possible, I used gamma correction to make it appear linear, and 10 bit PWM to give the widest dynamic range possible.
I discovered at 8 bits, the resolution of animations at low brightness was very poor, especially since I had applied gamma correction. After expanding it to 10 bit resolution, the animations were very nice.
I used inline assembly in parts to make use of the dsPIC instruction set. While not necessary, I wanted to learn it.
There are 8 modes that I added:
- Fully on
- Middle rows on
- Outer rows on
- Animated waves, from inner to outer rows
- Animated waves, from one side to the other
- Pulsing animation, varies from half to full brightness, kind of like a heartbeat 7. Slow flash mode
- Fast flash mode (aka. Seizure mode!)
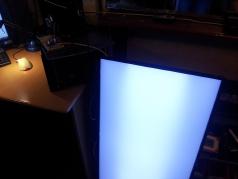
The screen is really really bright at full brightness, and it’s very weird to look at since it’s spread over such a large surface.
Hardware
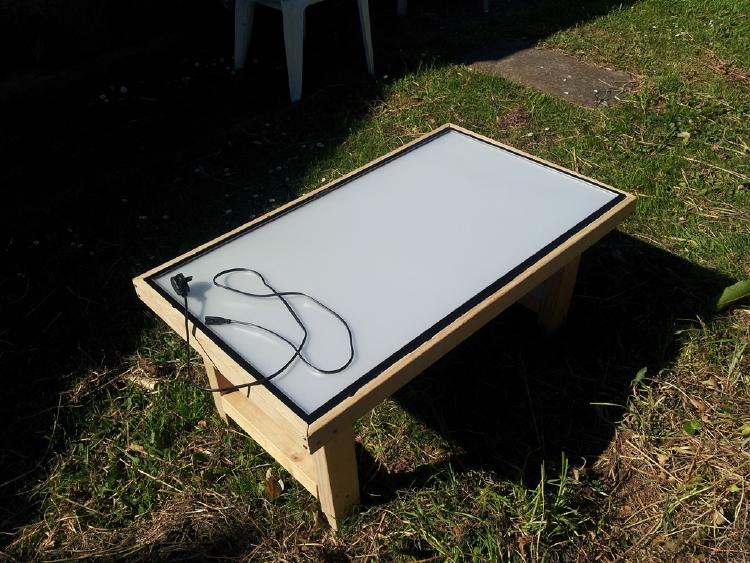
After I had gotten the firmware working how I wanted it to, I built a rough frame using spare lumber. It’s a little rough around the edges, but it’s not bad for a first try!
Final Product
All that was left was to add some buttons and mount it into its frame:
Comments
Note: Comments have been migrated from Disqus to Remark42, a privacy-preserving comment system. (why?)
You can comment anonymously or log in via Github or Email.